- AJ Products UK
- Blog: Tips to Inspire Happiness at work
- Tips & trends
- Building your racking
How to build and expand your warehouse racking system: A simple guide
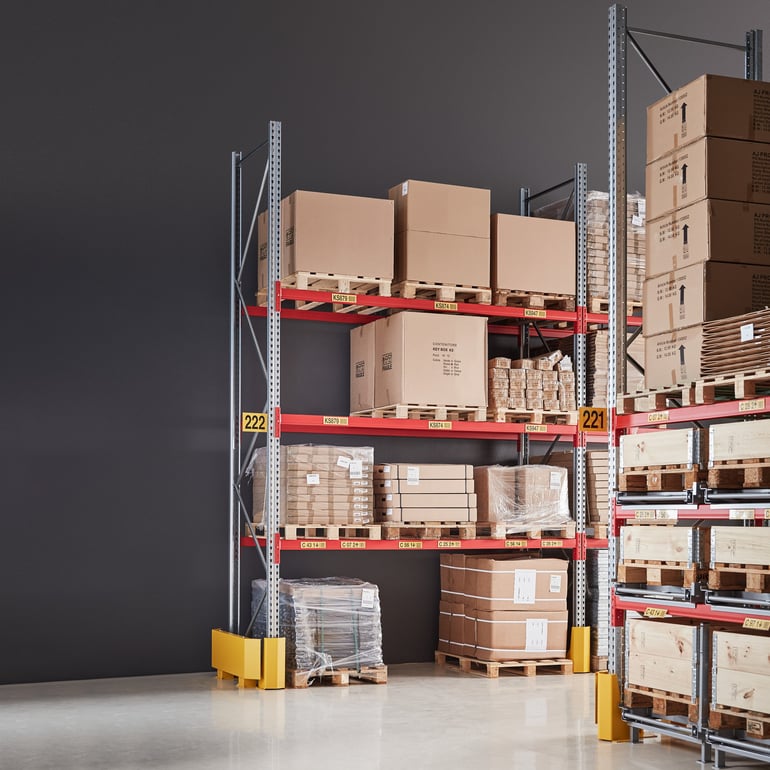
Plan your layout carefully
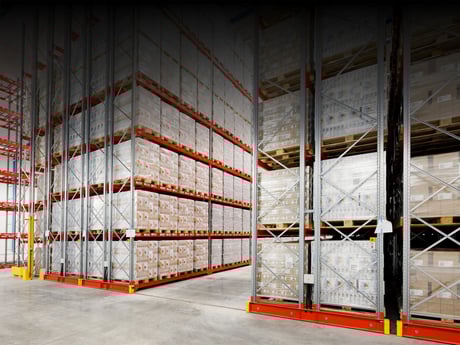
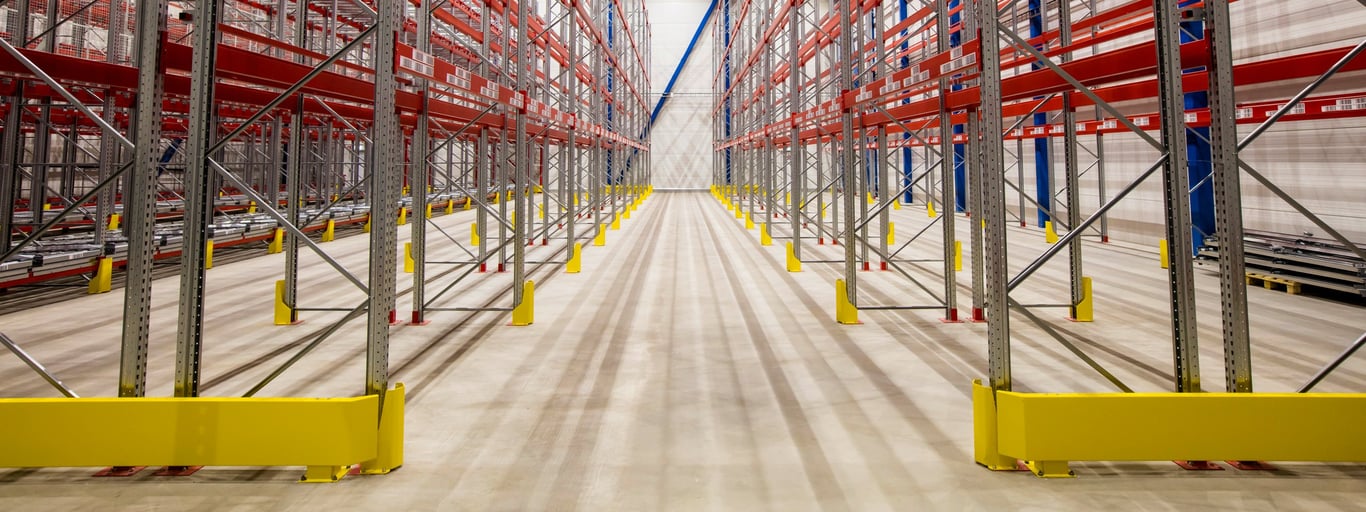
Before installing your racking, it’s essential to think through the layout of your space. Start by measuring the available floor area, ceiling height and any fixed features such as doors, windows, columns, or lighting that may affect the configuration. A good warehouse layout should balance maximum storage capacity with ease of access, so it’s important to leave sufficient aisle width - especially if you use forklifts or trolleys.
Don’t forget to plan for the future. Choosing a modular system and leaving room to expand means your racking can grow with your business. Even a simple sketch on grid paper or the use of an online planning tool can help you visualise the layout. We can provide planning supporte advice if you’re unsure.
Not sure which racking is right for your space? Take a look at our Guide to the different types of shelving and racking to find the best fit for your needs.
What’s the difference between a basic and an add-on racking unit?
When you're setting up a shelving or racking system, the first thing to understand is that it's made up of different types of units. The two most common are basic units and add-on units. Knowing the difference between them will help you build your system in the most efficient (and cost-effective) way.
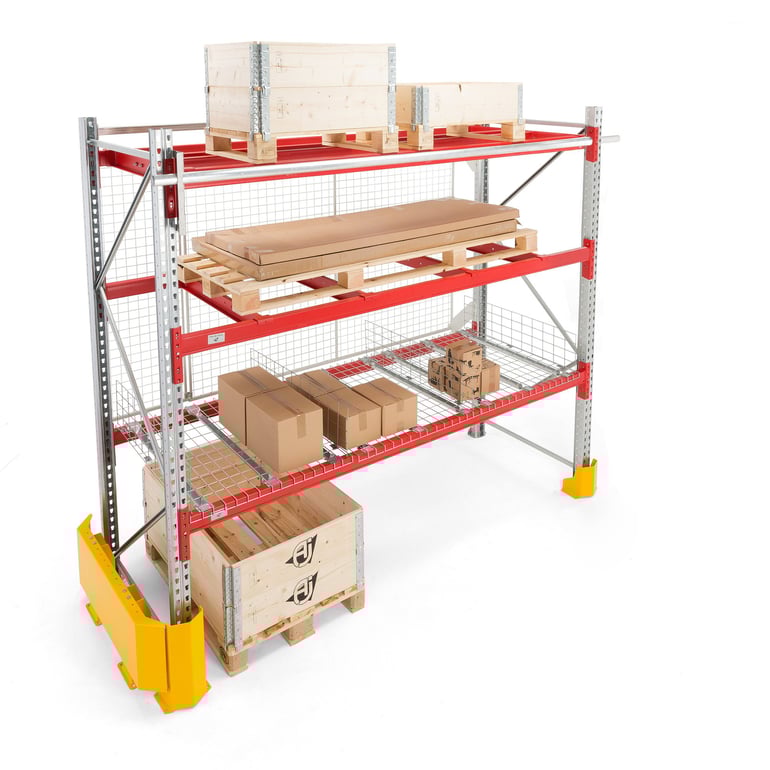
Basic unit: The starting point
Think of a basic unit as the first full section of shelving in your setup. It comes with everything you need for that section to stand up on its own
- Two end frames (or four vertical posts , also called uprights) to provide structural support
- A set of shelves or pallet racket beams, depending on wheter you're storing items directly or using pallet racking
- Cross bracing if needed, this adds extra stability to prevent wobbling
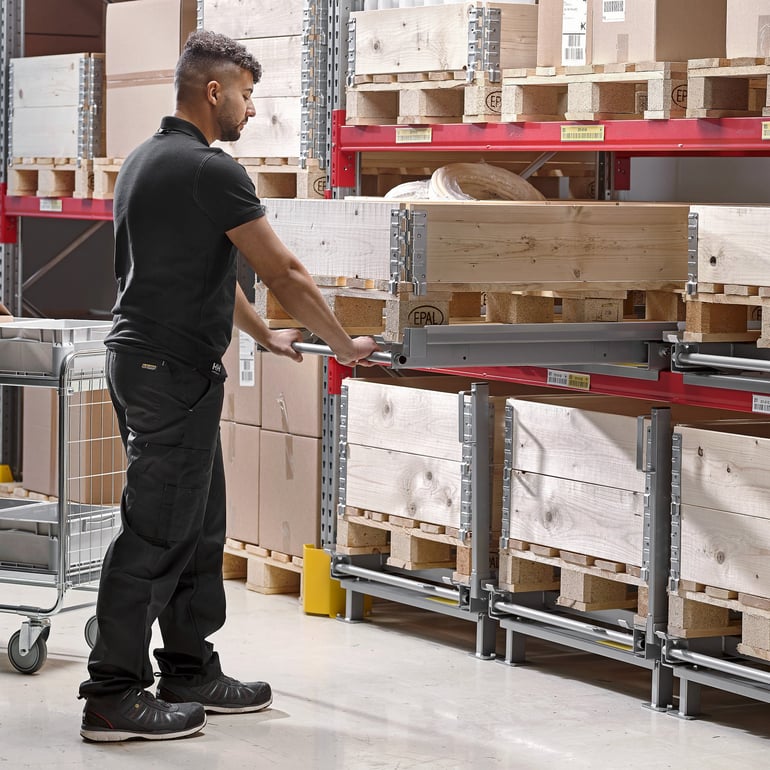
Add-on unit: The extension
An add-on unit, on the other hand, is designed to connect to a basic unit or to another add-on. It doesn't have both side frames, it only comes with one end frame (or two uprights), because it shares the other side with the unit next to it. This clever design lets you extend your racking run without buying a full set of parts each time. Add-on units slot in neatly, making your storage more cost-effective and saving space.
- One end frame (or two uprights)
- A set of shelves or beams
- Cross bracing if needed
How do I build and extend my racking run?
In order to create a run of storage bays, you should start with one basic unit, which can then be extended using add-on units.
The basic unit is a complete stand-alone shelving bay. The add-on unit is designed to join onto the end frame of the previous bay (whether the basic unit or a previous add-on unit) and is not suitable for use without at least one basic unit within the run of bays.
Tip: Always ensure your racking is installed on a level surface and anchored properly to meet health and safety standards.